Español | English
As we all know, WordPress 3.0 came out (currently available 3.0.1 version) which brings a really cool feature we all were waiting for: Multisite Networks: several WordPress sites on the same installation with a central administration console.
WordPress installation is very easy. The problem comes when we try to use permalinks or the multisite feature on Internet Information Server 6.0 en un Windows 2003 Server. Under Apache (Linux o Windows) or IIS 7, there is no problem at all. It wotks out-of-the box with the corresponding Url-Rewrite module.
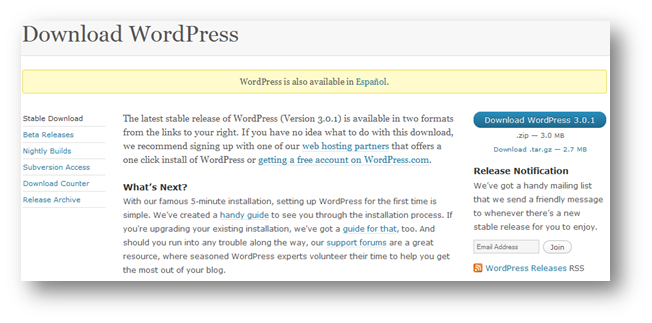
Step1. Download WordPress.
The simpliest thing in the world , go to the wordpress site and download the latest version: http://wordpress.org/download/
Unzip the file into your IIS publishing site. You can put it inside the folder you want. (For example, inetpub\wwwroot\curso\, we do not concern about securuty issues at this moment).
Step 2. Publishing PHP pages on IIS.
Please, check that your IIS box is working and serving PHP pages properly. We are not getting into much detail.
Just one tip, PHP on Windows, a lot better with the FastCGI module. So, ahead, download the FastCGI module for IIS 6.0.
http://www.iis.net/download/fastcgi
Don’t forget to check this good post of Ruslan Yakushev:
http://learn.iis.net/page.aspx/247/using-fastcgi-to-host-php-applications-on-iis-60/
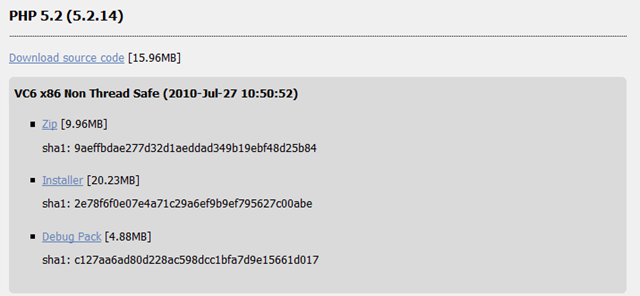
Next thing to do: download PHP engine. Download the installer from the oficial PHP site. After you install the FastCGI module, this installer does it all for you.
Download the one named «Non-thread-safe installer». This is the right one for IIS. Do not download another one at least you know what you are donig.
Note: Use the Windows Binaries subsite. If you download it from a diferent place, some things can go very wrong. For example, php_curl.dll library does not work with generic windows binaries.
http://windows.php.net/download/
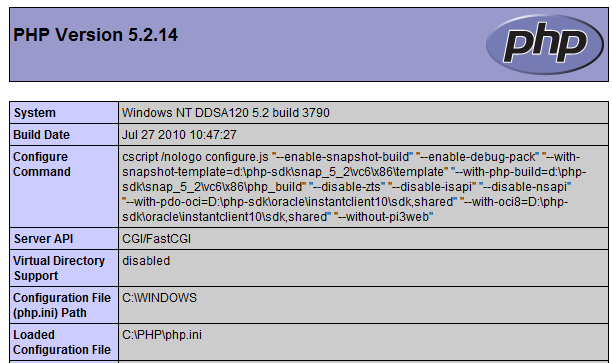
Again, check your PHP installation (youk know how, use phpinfo) and make sure php_mysql, php_openssl y php_curl extensions are working. You only require mysql extension, the other 2 are used for WordPress when it needs to import external content from another blog. Feel free to active others extensiones like php_mssql or php_ldap.
Feel free to enable other options like register_globals or increase the upload file size, memory settings, etc. We are not dealing with that in this post. Just make sure you know what you are doing.
Step 3. WordPress installation
It is really very simple. You can check the official How To from WordPress.
http://codex.wordpress.org/Installing_WordPress
Resuming, the only things you must do to install are:
1. Create an emty database into your MySQL server. Name it as you desire. Create a new user with create, modify and delete privilegies onto that database.
2. Unzip your WordPress download and put this folder inside your publishing IIS site. Just the same as any other content. Select a nice little name for your site. In this case http://miserver/curso/.
3. Actually this is a 2.5 step because you only have to aislate application on IIS. Open the IIS Management Console and create a new Application Pool. I don’t know, name it «PHP» and leave the defaults. Go to your new WordPress site (in this case “curso”), right click->properties and make it to a web application selecting the Application Pool we just made.


4. Give write permmissions to the IUSR_YOURMACHINE user on your folder. Don’t worry. Restore the permissions when we are done. DO NOT forget it!
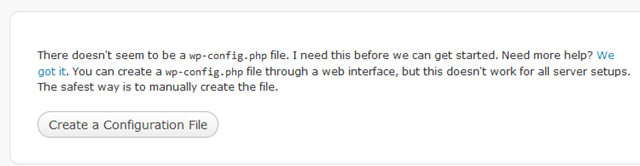
5. All done! Browse your new site (in this case http://miserver/curso/) and select «Create a configuration File». Fill the wizard forms. It is not difficult, you have all the information you will need. Trust me.
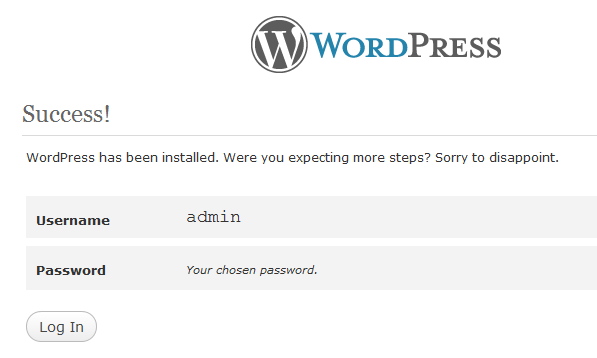
Ok. You have a WordPress installation working. Hope you choose a nice little URL.
¿You don’t like the default site theme? Well, I can not blame you. Let’s get to the seriuos stuff.
Step 4. Enable WordPress Multisite.
WordPress call this mode: Network. It can be created as domaind or directories network. We are using the directory approach. But in general, ¿Which should we use? It is opt to you. I can not work with the organization’s DNS, so directories network it is. Official WordPress paper about how to do that:
http://codex.wordpress.org/Create_A_Network
What you have to do is open your wp-config.php and add a line just before this line:
[php]
/* That’s all, stop editing! Happy blogging. */
define(‘WP_ALLOW_MULTISITE’, true);
[/php]
This line enables the Network feature. Now, go to your Dashboard. You will see a new option under Administration > Tools called Network.
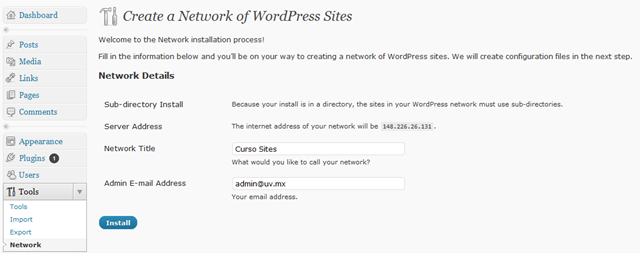
Again, pick a nice name for your network and click Install. The good stuff is coming.
A nice screen is presented with a few options:
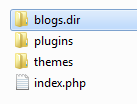
1. The first one is a piece of cake. Create a folder called blogs.dir inside your wp-content folder don’t forget to check if the IUSR_YOURMACHINE user has write permission.
2. Second part is also easy. Add these lines into your wp-config.php.
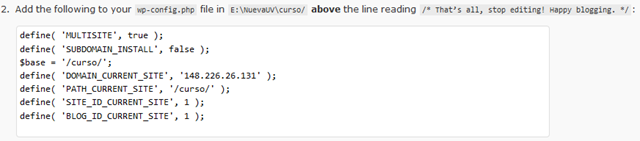
3. Here es the uggly stuff. If you were using IIS 7, you could use the URL Rewrite module and so, WordPress would show you some nice code lines for modifying your root web.config file. This way, WordPress URL redirection cant work properly. But this is not our case. We want to use IIS 6 so WordPress dont give a damn about how you are going to handle redirection.
Ok, Lets figure it out.
Step 5. URL Rewrite under IIS 6
There are some alternatives out there. Some of them are free of charge. Some others don’t, but here you have two options i have tested and both works fine (and are also free):
I only have tried IIRF (Ionics Isapi Rewrite) on a production server. But in theory, the second one is as simple as putting a web.config file inside a bin folder with the right redirection rules (same as mod_rewrite rules from Apache’s .htaccess).
Again, the decision is yours. We are going to use the fist one in this post.
Download the software. http://iirf.codeplex.com/
The installer does all for you. Very simple.
1. Launch the installer.
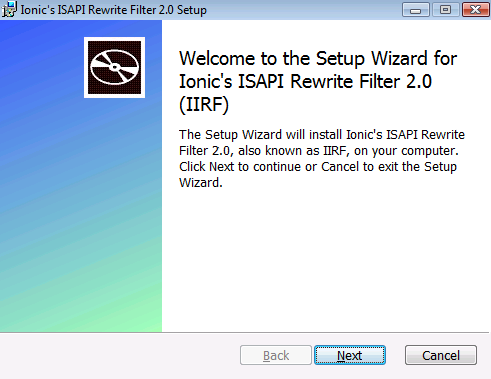
2. Accept licence terms.
3. Select full install.
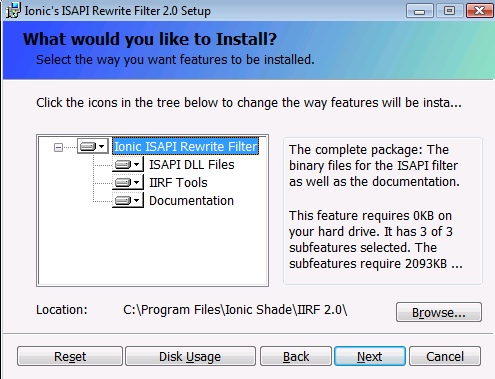
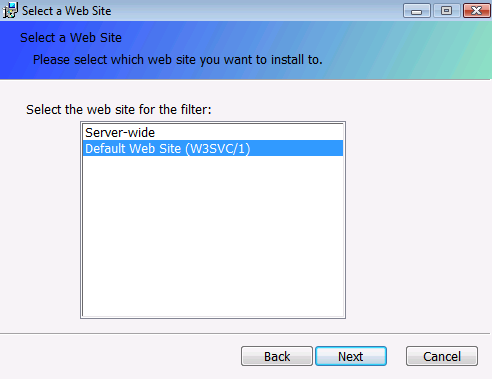
4. Select the web site you want IIRF filter work on (it is an IIRF.dll library file).
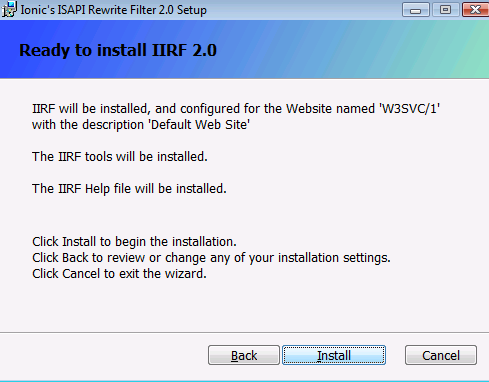
5. Click Install and you are ready to go.
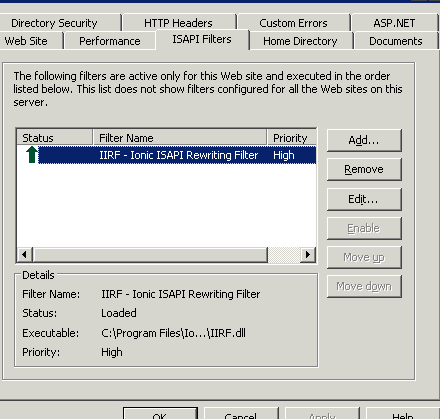
What this installer does is copy several files to your Program Files folder, give read permission to grupo IIS_WPG group y copy his IIRF.dll library as a filter on your IIS web site.
Here you have the IIRF files:
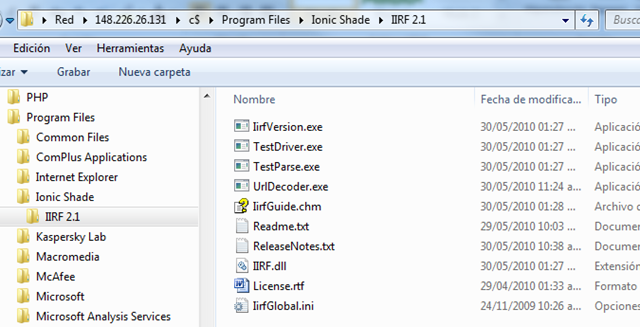
The important on is the IIRF.dll file. There is another good to know too: IirfGlobal.ini. This handles global instructions like turning On/Off the Rewrite Engine or your logs file path.
Don’t worry about this global file, we are handing all from the local config file. That’s why we created an IIS Web Application.
We area done. Finally put the right directions rules into your local IIRF.ini file. The jewel of this post: Rules for the curso web site..
[ruby]
RewriteEngine On
# Redirecciona a la correcta pagina inicial del subsitio
RedirectRule ^/curso/([_0-9a-zA-Z-]+)$ /curso/$1/ [I]
RewriteRule ^/curso/index\.php$ – [L]
# uploaded files
RewriteRule ^/curso/([_0-9a-zA-Z-]+/)?files/(.+)(\?.*)$ /curso/wp-includes/ms-files.php?file=$2 [L]
RewriteRule ^/curso/([_0-9a-zA-Z-]+/)?files/(.+) /curso/wp-includes/ms-files.php?file=$2 [L]
# add a trailing slash to /wp-admin
RewriteRule ^/curso/([_0-9a-zA-Z-]+/)?wp-admin$ /curso/$1wp-admin/ [R=301,L]
RewriteCond %{REQUEST_FILENAME} -f [OR]
RewriteCond %{REQUEST_FILENAME} -d
RewriteRule ^ – [L]
RewriteRule ^/curso/([_0-9a-zA-Z-]+/)?(wp-(content|admin|includes|login).*) /curso/$2 [L]
RewriteRule ^/curso/([_0-9a-zA-Z-]+/)?(.*\.php)$ /curso/$2 [L]
RewriteRule ^/curso/([_0-9a-zA-Z-]+/)?(.*attachment_id=.*)$ /curso/$2 [L]
RewriteRule ^/curso/([_0-9a-zA-Z-]+/)?(\?.*)$ /curso/$2 [L]
RewriteRule . /curso/index.php [L]
[/ruby]
Great! Begin to use your new Network, check how friendly URLs are working, create subsites and unleash all the power of WordPress on IIS 6.